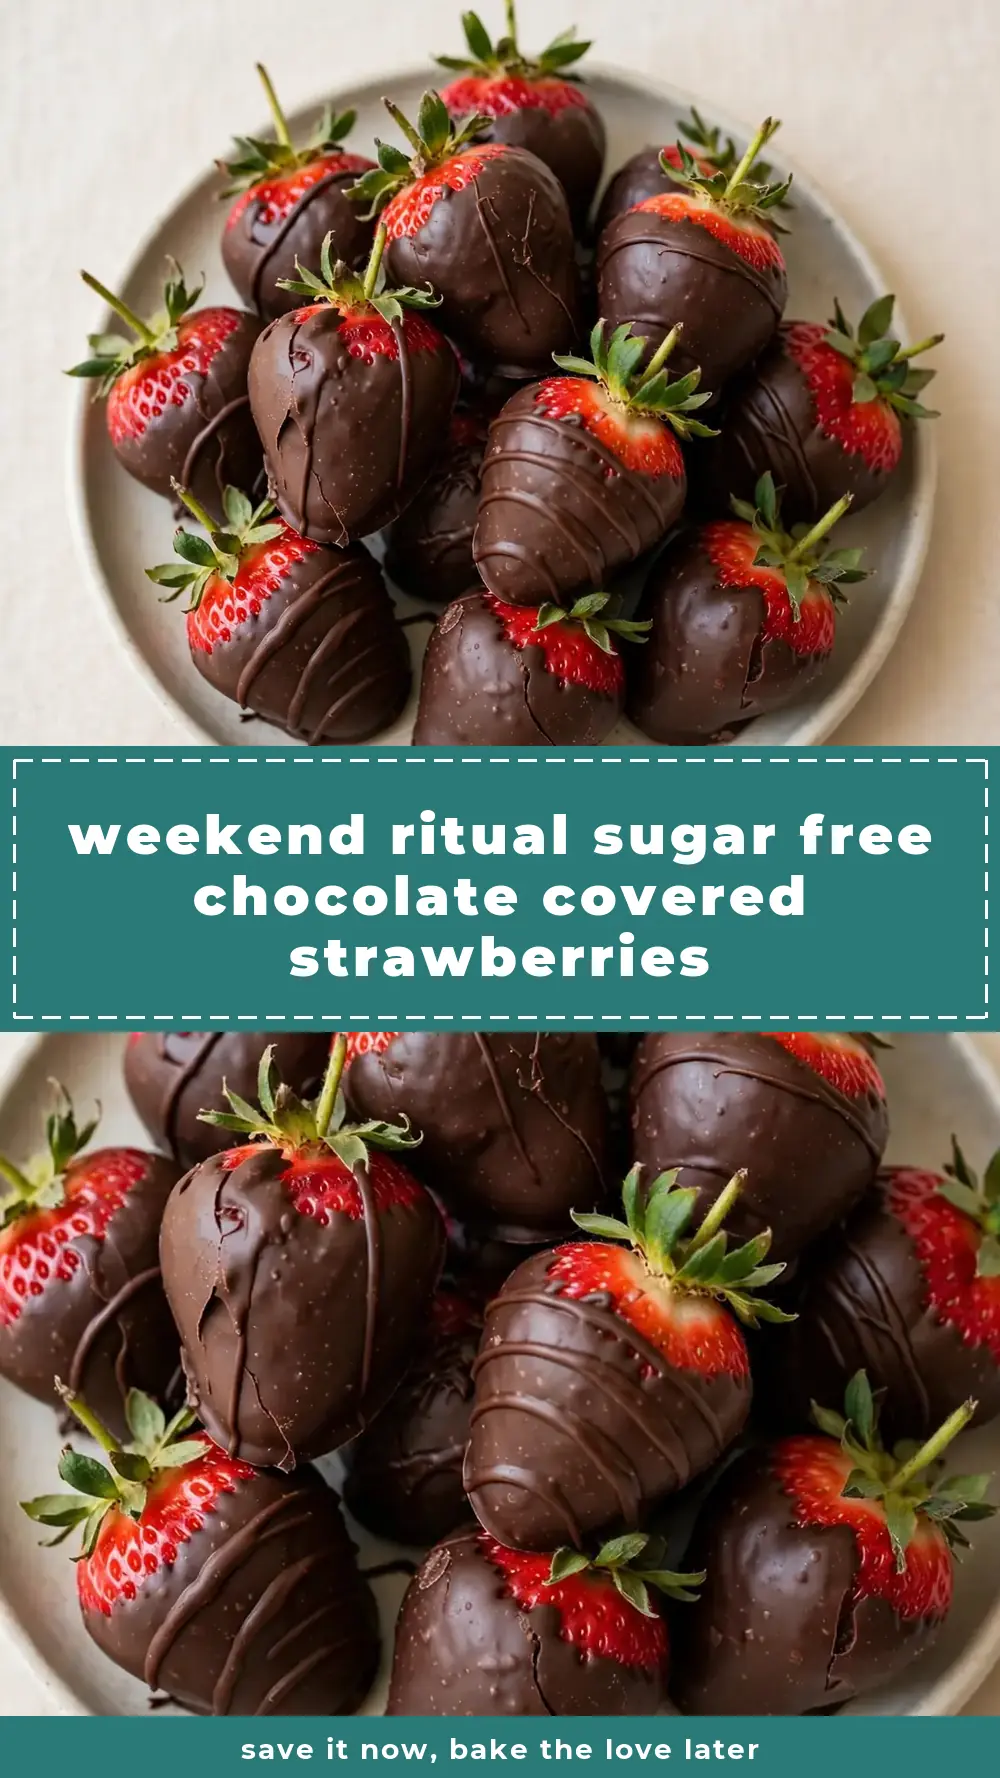
Weekend Ritual Sugar Free Chocolate Covered Strawberries
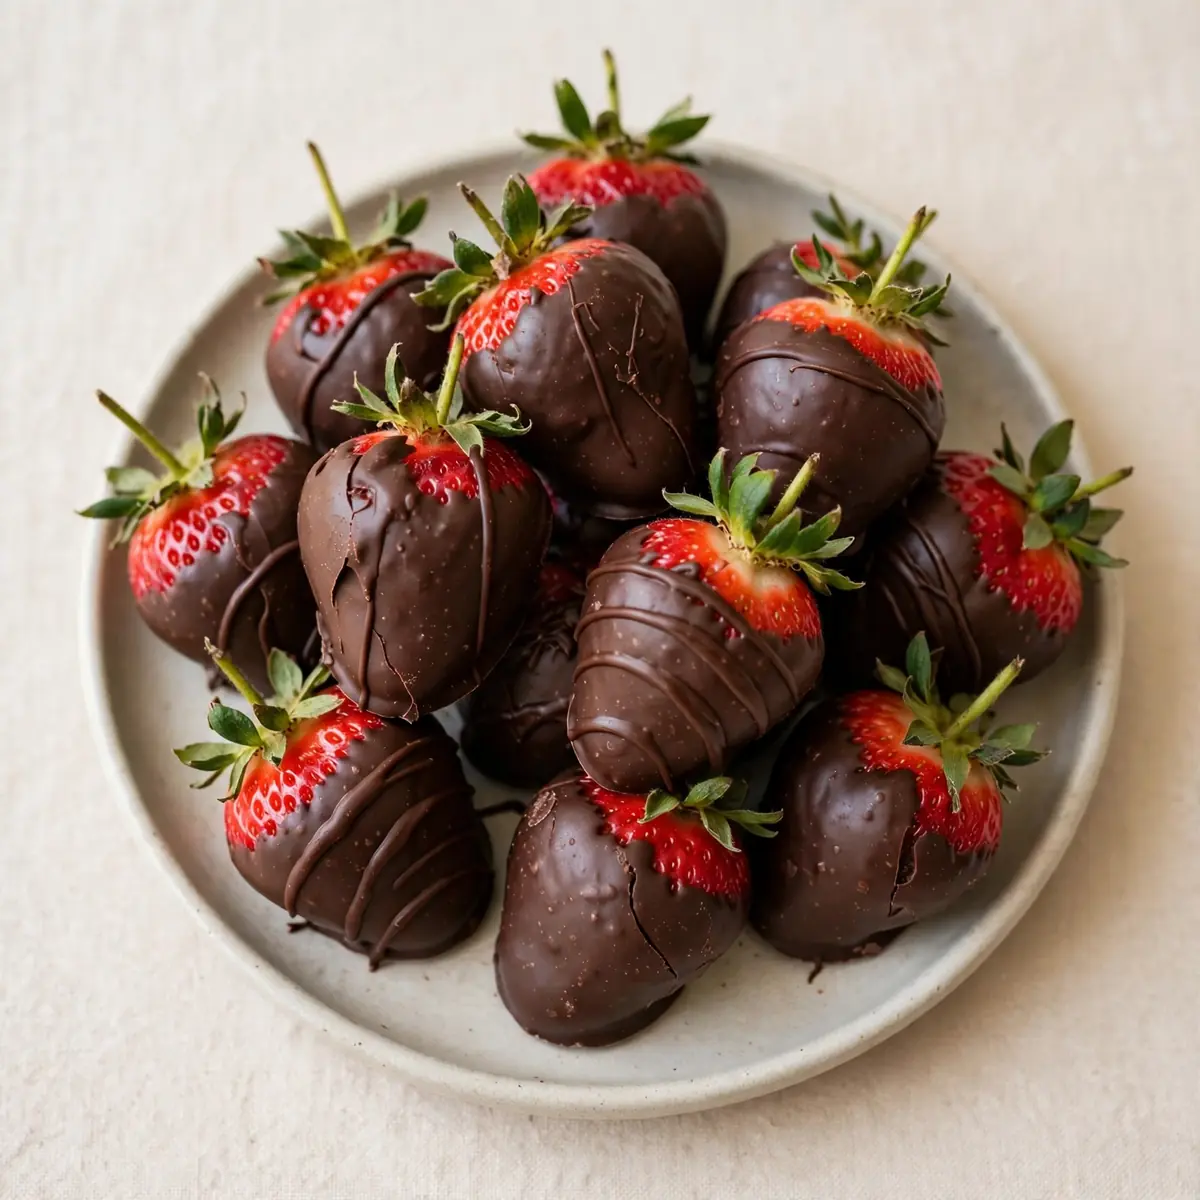
There are few things more soothing than the scent of melted chocolate drifting through the kitchen on a grey Saturday afternoon. I find the ritual itself — washing the berries, patting them dry, dipping each one into the glossy dark pool — far more satisfying than any rushed, shop-bought treat. This sugar-free chocolate covered strawberries recipe turns a simple snack into a weekend project, one that asks you to slow down, listen to the quiet hum of the fridge, and enjoy the small, deliberate motions of your own hands.
Recipe Overview
- Prep time: 20 minutes
- Cook time: 5 minutes
- Total time: 55 minutes (including setting time)
- Servings: 4 (approximately 12–16 strawberries)
- Difficulty: Easy
Why You’ll Love This Sugar-Free Chocolate Covered Strawberries
- No refined sugar, no compromise: Using a high-quality, sugar-free dark chocolate means you get that deep, almost bitter cocoa hit without any of the cloying sweetness that masks the fruit’s natural flavour. The strawberries themselves provide all the sweetness you need.
- A genuinely mindful kitchen activity: Dipping strawberries is a slow, tactile process. You feel the cool berry in your fingers, the warm chocolate coating it, and the gentle tap to remove excess. It turns cooking into a form of quiet relaxation.
- Impressive with minimal effort: Friends always ask me for this recipe after trying it at dinner parties. They cannot believe there is no sugar involved, and the glossy, professional-looking finish makes it look like you spent hours in the kitchen.
- Naturally fits a low-carb or keto lifestyle: Because we avoid any powdered sugar or syrups, these berries are a brilliant option for anyone watching their carbohydrate intake, perhaps after a main course like Cosy Cilantro Lime Shrimp Skillet & Cauliflower Rice. You get a dessert that feels indulgent without the guilt.
- Customisable to your own taste: Once you master the basic dip, you can add a pinch of sea salt, a dusting of unsweetened cocoa powder, or a few chopped nuts. The base recipe is a blank canvas for your own cosy experiments.
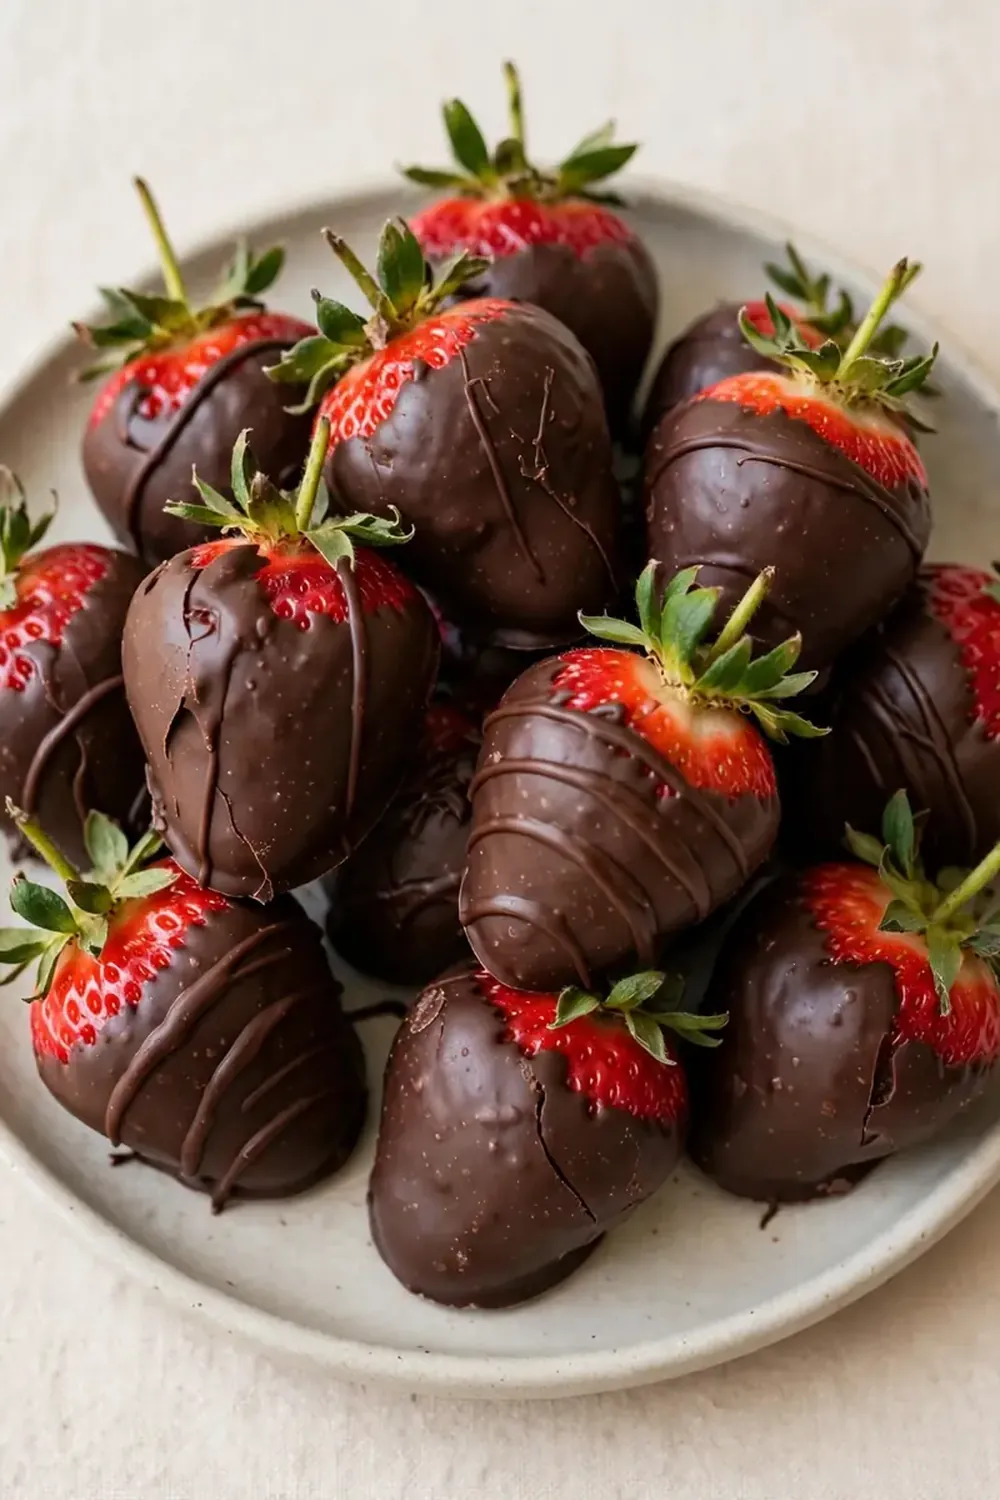
Ingredients You’ll Need
- 400g fresh strawberries (look for firm, bright red berries with green, fresh-looking leaves)
- 200g sugar-free dark chocolate (at least 85% cocoa solids; check the label for no added sugar)
- 1 tablespoon coconut oil or cacao butter (this thins the chocolate and helps it set with a beautiful shine)
- 1 teaspoon vanilla extract (unsweetened, alcohol-free)
- Pinch of sea salt flakes (optional, for finishing)
Tip: The quality of your chocolate matters enormously here. I always use a bar I would happily eat on its own, because the chocolate is the star. Avoid chocolate chips that contain stabilisers, as they often seize or become grainy when melted.
How to Make Sugar-Free Chocolate Covered Strawberries
- Prepare the strawberries. Gently rinse the berries under cool, running water. Pat them completely dry with a clean tea towel or kitchen paper. Any lingering moisture will cause the chocolate to seize, turning it into a gritty, unusable mess. Leave the stems and leaves attached — they act as a natural handle. Feel the berries: they should feel dry to the touch, with no slippery film.
- Melt the chocolate. Break the sugar-free dark chocolate into even pieces and place them in a heatproof bowl set over a saucepan of barely simmering water. Ensure the bottom of the bowl does not touch the water. Add the coconut oil. Stir gently with a dry spatula as the chocolate begins to soften. You will smell the rich, earthy aroma of cocoa rising as it melts. The mixture is ready when it is smooth, glossy, and completely liquid — no lumps remain, and it coats the back of a spoon in a thin, even layer.
- Cool the chocolate slightly. Remove the bowl from the heat and let it sit for two to three minutes. Dip the back of a clean spoon into the chocolate — it should feel warm but not hot on your wrist. If it is too hot, it will cook the surface of the strawberry and create a dull, streaky finish. The perfect temperature is just above room temperature, when the chocolate still flows freely.
- Dip the strawberries. Hold one strawberry by the leaves and stem. Lower it into the melted chocolate at a slight angle, twisting your wrist gently so the chocolate climbs almost to the top of the berry. Lift it out and let the excess chocolate drip back into the bowl for a few seconds. You will see a smooth, even coat forming. Place the dipped berry onto a baking sheet lined with baking paper. Listen for the soft, quiet tap as you set it down.
- Add any finishing touches. While the chocolate is still wet, sprinkle a tiny pinch of sea salt over each strawberry, if you like. Work quickly — the chocolate sets fast. You can also roll the bottom edge in chopped, unsalted almonds or crushed freeze-dried raspberries at this stage. The texture contrast is lovely.
- Set the chocolate. Place the baking sheet in the refrigerator for at least 30 minutes. Do not skip this step, even if you are impatient. The chocolate needs this time to harden into a firm, snappy shell. After 30 minutes, touch one berry gently — the chocolate should feel firm and matte, and it should not leave a mark on your finger. The strawberries will look glossy and jewel-like.
- Serve or store. Remove the berries from the fridge about five minutes before serving. This takes the chill off without softening the chocolate. Arrange them on a plate and admire the shine. My kids absolutely devour this every time I make it, and I love watching them pick up a berry by the stem, bite through the crisp shell, and find the cool, juicy fruit inside.
Tips From My Kitchen
- Dry the strawberries meticulously: This is the single most important tip. Water is the enemy of melted chocolate. If even one drop of water falls into the bowl, the chocolate will seize into a thick, grainy paste that cannot be saved. I pat each berry individually with a cloth and let them air-dry on a tray for ten minutes before I start melting the chocolate.
- Use a double boiler, not a microwave: A microwave can easily overheat sugar-free chocolate, which burns faster than regular chocolate because of its higher cocoa content. A gentle double boiler gives you complete control. You can see the chocolate melting, smell when it is ready, and pull it off the heat the moment it becomes smooth.
- Add a little fat to the chocolate: Coconut oil or cacao butter does two things. First, it thins the chocolate so you get a much thinner, more elegant coating on the strawberry. Second, it helps the chocolate set with a glossy, professional sheen rather than a dull, streaky finish. Use one tablespoon per 200g of chocolate.
- Work in a cool, dry room: If your kitchen is hot or humid, the chocolate will take longer to set and may develop white streaks, known as bloom. I like to make these on a cool morning or evening. If the weather is warm, I set the baking sheet near an open window or in a cool pantry before moving it to the fridge.
- Do not refrigerate for too long: While the fridge is essential for setting the chocolate, leaving the berries in there for hours (or overnight) can cause condensation to form on the chocolate when you bring them out. This moisture makes the shell sticky and dull. Thirty to forty-five minutes is the sweet spot.
Equipment You’ll Need
- Large frying pan or skillet (to act as a water bath base)
- Sharp knife and cutting board (for any optional toppings)
- Mixing bowls (one heatproof for the chocolate, one small for toppings)
- Wooden spoon or spatula (dry, for stirring the chocolate)
- Baking sheet and baking paper
What to Serve With Sugar-Free Chocolate Covered Strawberries
- A small bowl of thick, full-fat Greek yoghurt or a dairy-free coconut yoghurt — the tang cuts through the rich chocolate beautifully.
- A handful of roasted almonds or hazelnuts on the side for crunch.
- Alongside a cup of strong, unsweetened coffee or a warm herbal tea like peppermint or rooibos.
- As part of a dessert board with slices of hard cheese, such as a sharp cheddar or a creamy brie.
- Over a simple vanilla ice cream (look for a no-sugar-added brand) for a more decadent treat.
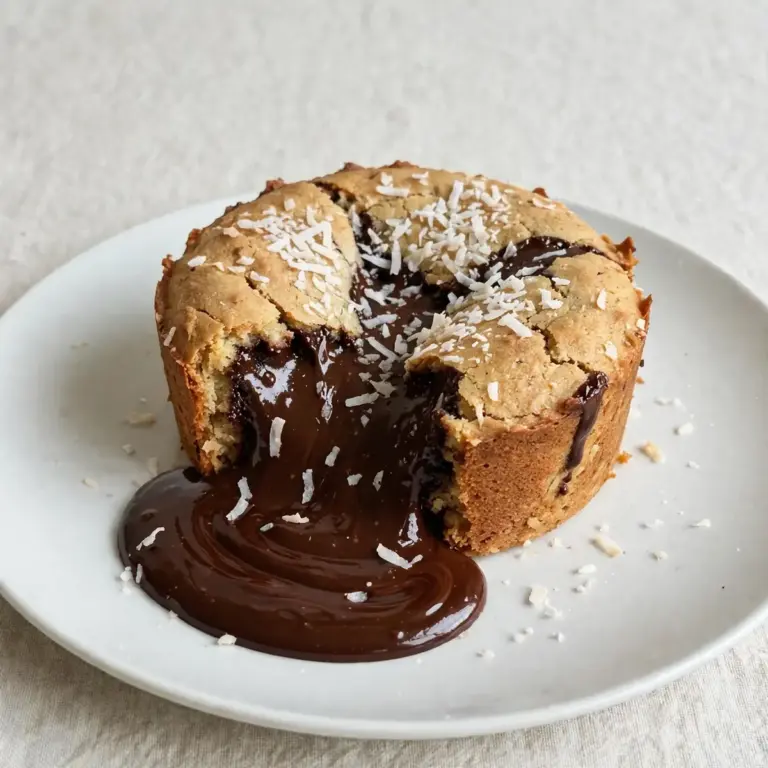
Still hungry for ideas? You might also love Homemade Chocolate Covered Cherries, 3 Ingredient Gluten Free Chocolate Banana Cookies Sugar Free from our sister kitchens.
Frequently Asked Questions
Sugar-Free Chocolate Covered Strawberries
Ingredients
Method
-
Prepare the strawberries. Gently rinse the berries under cool, running water. Pat them completely dry with a clean tea towel or kitchen paper. Any lingering moisture will cause the chocolate to seize, turning it into a gritty, unusable mess. Leave the stems and leaves attached — they act as a natural handle. Feel the berries: they should feel dry to the touch, with no slippery film.
-
Melt the chocolate. Break the sugar-free dark chocolate into even pieces and place them in a heatproof bowl set over a saucepan of barely simmering water. Ensure the bottom of the bowl does not touch the water. Add the coconut oil. Stir gently with a dry spatula as the chocolate begins to soften. You will smell the rich, earthy aroma of cocoa rising as it melts. The mixture is ready when it is smooth, glossy, and completely liquid — no lumps remain, and it coats the back of a spoon in a thin, even layer.
-
Cool the chocolate slightly. Remove the bowl from the heat and let it sit for two to three minutes. Dip the back of a clean spoon into the chocolate — it should feel warm but not hot on your wrist. If it is too hot, it will cook the surface of the strawberry and create a dull, streaky finish. The perfect temperature is just above room temperature, when the chocolate still flows freely.
-
Dip the strawberries. Hold one strawberry by the leaves and stem. Lower it into the melted chocolate at a slight angle, twisting your wrist gently so the chocolate climbs almost to the top of the berry. Lift it out and let the excess chocolate drip back into the bowl for a few seconds. You will see a smooth, even coat forming. Place the dipped berry onto a baking sheet lined with baking paper. Listen for the soft, quiet tap as you set it down.
-
Add any finishing touches. While the chocolate is still wet, sprinkle a tiny pinch of sea salt over each strawberry, if you like. Work quickly — the chocolate sets fast. You can also roll the bottom edge in chopped, unsalted almonds or crushed freeze-dried raspberries at this stage. The texture contrast is lovely.
-
Set the chocolate. Place the baking sheet in the refrigerator for at least 30 minutes. Do not skip this step, even if you are impatient. The chocolate needs this time to harden into a firm, snappy shell. After 30 minutes, touch one berry gently — the chocolate should feel firm and matte, and it should not leave a mark on your finger. The strawberries will look glossy and jewel-like.
-
Serve or store. Remove the berries from the fridge about five minutes before serving. This takes the chill off without softening the chocolate. Arrange them on a plate and admire the shine. My kids absolutely devour this every time I make it, and I love watching them pick up a berry by the stem, bite through the crisp shell, and find the cool, juicy fruit inside.
Notes
I hope this recipe becomes a gentle, comforting ritual in your own kitchen — a moment to slow down, breathe in the cocoa-scented air, and create something beautiful with your own hands. If you make these sugar-free chocolate covered strawberries, I would love to hear how they turned out. Drop a comment below and tell me about your own cosy weekend projects. For more recipes like this, have a browse through the All Recipes page, or pop over to Homeflavor.Online for plenty more inspiration.